Install and migrate
Use Unreal Engine 5.8 on Windows for the tested baseline. Start with a blank Blueprint project if you want to evaluate the effects without other project settings.
Open the standalone project
Section titled “Open the standalone project”- Extract your purchased volume. Open its
VoxelHitPack_VolXX.uprojectwith UE 5.8. - Let shaders finish compiling. In the Content Browser, open
VoxelHitPack_VolXX/Demo/L_VoxelHitPack_VolXX_Demo. - Select Play. Every effect and its three presets appears in the gallery and replays automatically. Paging is not required.
Niagara is required for the effects. Enhanced Input and Engine Cameras support the supplied demo. The authoring and Python plugins are not required by the purchased content.
Move a volume into your project
Section titled “Move a volume into your project”- Open the standalone project in Unreal. Select the volume’s content folder in the Content Browser.
- Right-click and choose Migrate (under Asset Actions when migrating selected assets). Keep the listed dependencies selected.
- Choose the destination project’s Content directory. Do not choose a subfolder inside it.
- Open the destination project and verify the volume root and its demo map.
Use Unreal’s migration workflow so meshes, materials, and Blueprint dependencies are included. Each volume has its own VoxelHitPack_VolXX root and can coexist with the other volumes.
Verify the installation
Section titled “Verify the installation”Open the demo and confirm automatic replays. Place one Niagara system in a blank level and activate it. If a demo input mapping is missing, enable Enhanced Input and restart the editor. If materials look wrong, wait for shader compilation before changing them.
Visual verification
Section titled “Visual verification”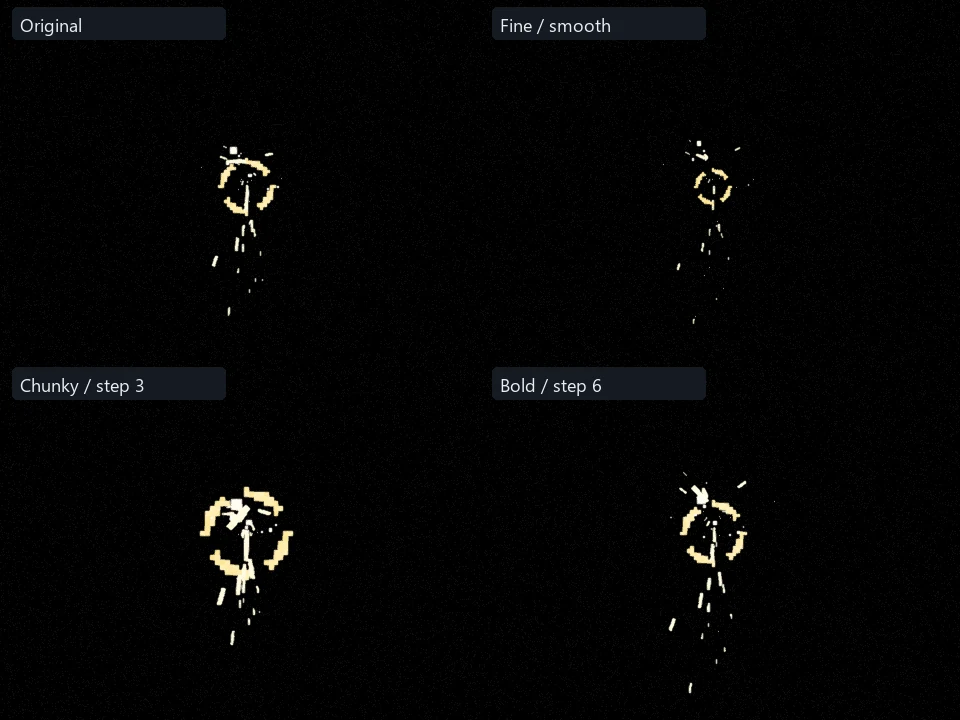
After installation, compare the demo’s Original, Fine, Chunky, and Bold presentations. This reference is rendered from the current released Niagara asset with its demo overrides.